The first time you run Credit Guardian the Startup Wizard will appear. This wizard will guide you through the process of setting up Credit Guardian, including:
- Registering for your Credit Guardian account;
- Selecting how you will store your data;
- Creating a user account;
- Linking Credit Guardian to your accounts software.
In this guide we will assume you do not have a Credit Guardian account and you want to link to Sage 50 accounts.
Startup Wizard instructions
- Run Credit Guardian for the first time (this usually happens after you've finished the installation).
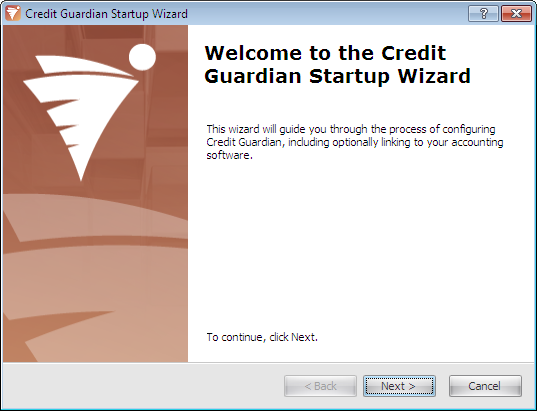
- The welcome screen appears. Click Next to continue.
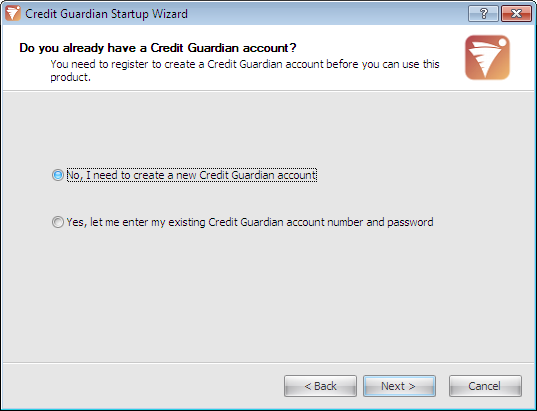
- To use Credit Guardian you need to create an account on the Credit Guardian server. If you have already purchased Credit Guardian you may already have an account. If you do have an account, select Yes and click Next. You will then be asked to enter your Account Number and Account Password.
- We will assume you do not have an account so select No (the default option) and click Next.
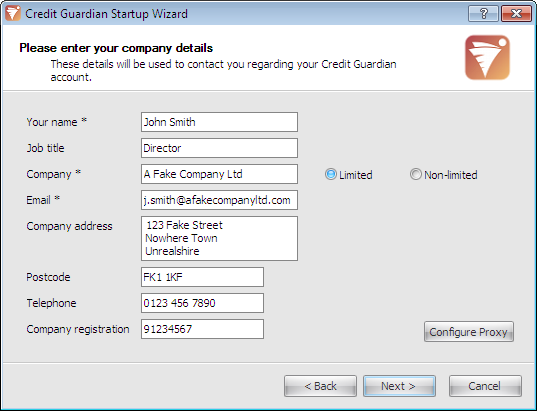
- Fill in the details shown on the dialog. These will be the details used to register your account. Make sure you enter a valid email address as your registration details will be emailed to this address. Click Next to continue or if your company uses a proxy server for internet access you can configure it by clicking Configure Proxy.
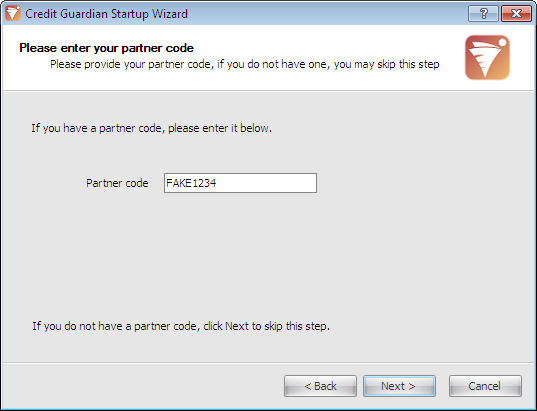
- If you have received Credit Guardian through a Draycir business partner they may have given you a partner code. Type this code into the Partner code edit box. Click Next to begin the account registration process.
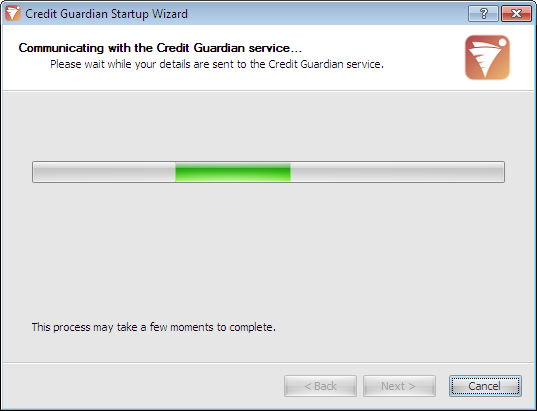
- Credit Guardian communicates with a server located on the Internet. If you have a firewall installed on your computer it may ask you if you want to allow Credit Guardian to access the Internet. If you do not allow access you will not be able to complete the wizard or use Credit Guardian.
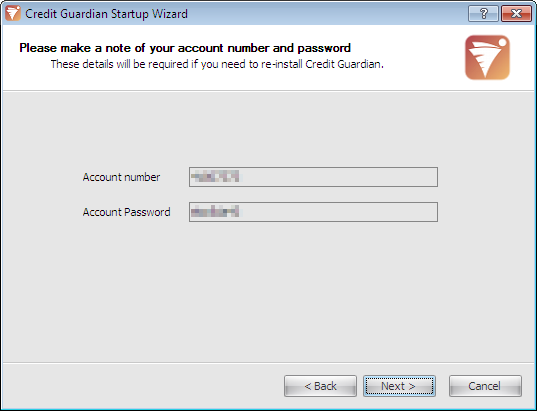
- Once successfully registered you will be shown your Credit Guardian Account Number and Account Password. You will need these details if you ever need to re-install Credit Guardian. These details will also be emailed to the email address you supplied on the previous screen.
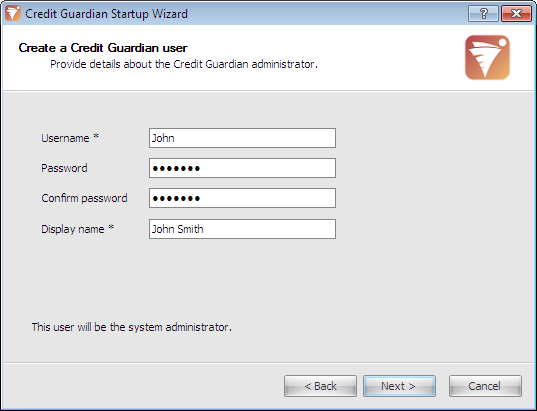
- Next you need to create an administrator user. This user will be able to add and view credit reports, add and remove other users, and add datasets to Credit Guardian.
- Type in the Username edit box the name the user will use on the logon dialog box. As you type in the Username it will also copy these details to the Display name edit box. This can be the full name of the user and is used for display purposes only.
- Type in the Password edit box, the password you want to use and repeat the same password in the Confirm password edit box.
- Click Next.
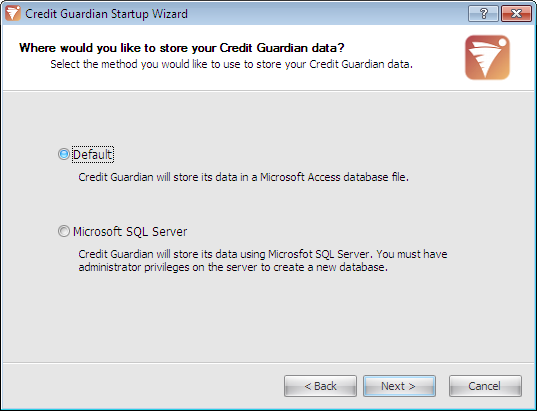
- Select how you want to store your Credit Guardian data. By default, your data will be stored in a Microsoft Access database. This is the simplest solution and is suitable if you intend to have a small number of Credit Guardian users and your accounts system doesn’t contain too many customers, suppliers or transactions. If you have a large accounts system and you have Microsoft SQL Server installed select Microsoft SQL Server, otherwise leave it to the Default setting.
- Click Next.

- If you selected Microsoft SQL Server on the previous screen, you will be asked to enter details on your SQL server. These options should only be entered by your IT/server administrator.
- After entering the Server name and successfully testing the connection click Next.
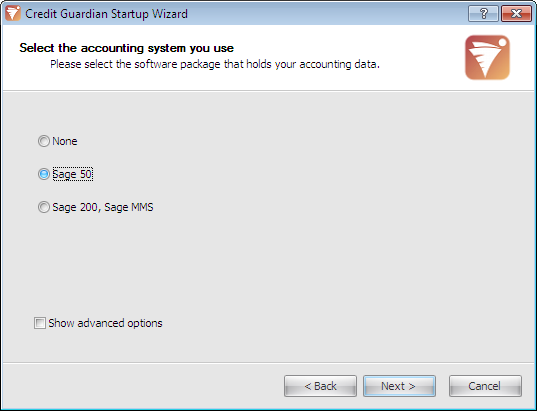
- The final section of the wizard is configuring the connection to your accounts software. If you do not have a compatible accounts system or you do not want to connect to your accounts software later, select None. Note only tick the Show advanced options box if you having trouble connecting to your accounting system, as this will display extra wizard screens.
- In this example we will select Sage 50 and click Next.
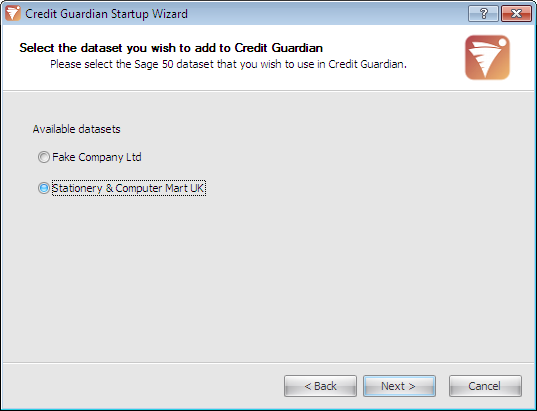
- A list of datasets is read from your Sage 50 accounts and displayed on the wizard. Select the dataset you want this user to have access to. Click Next.
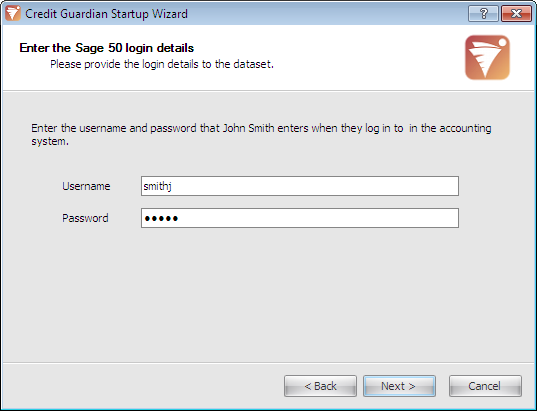
- Enter the Username and Password that this user requires to logon to the accounts system. Credit Guardian will use this username and password to logon to the accounts system when this user is in Credit Guardian.
- Click Next.
- Finally, please review the confirmation screen which shows the selections you have made on the previous screens. If you wish to make any changes, click the Back button until you reach the required screen.
- Once you are happy with the selected options, click Next.
- Credit Guardian will process your selections and create the required databases.

- The Startup Wizard is now complete and you are now ready to start using the software.
- Click Finish to logon to Credit Guardian.
When the logon dialog appears, enter the username and password you provided earlier in the wizard.
Note: You can add more datasets and users in the Administration Options in Credit Guardian.


